Signed SSL Server Certificate
To secure the TAS HTTPS Services, you have the option of installing a fully signed SSL Server Certificate by using the TAS Manager Console or the TAS Manager Web UI.
Use the TAS Manager Console to Install SSL Server Certificate or use the TAS Manager Web UI - Actions > Install SSL Server Certificate to Install SSL Server Certificate:
-
Install SSL Server Certificate - calls sudo/usr/sms/bin/install-certificate.sh
-
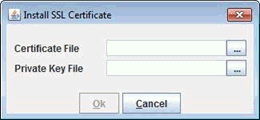
Selecting “Install SSL Server Certificate” will display the following dialog where the user specifies the 2 local files for Certificate and Private Key :
-
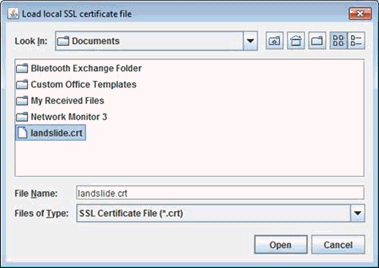
Clicking on “…” Certificate File will bring up file selector with the file type restriction *.crt :
-
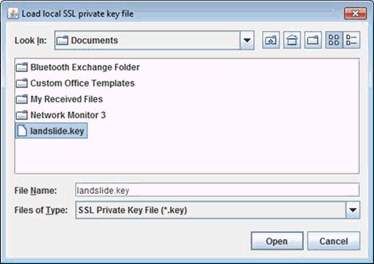
Clicking on “…” Private Key File will bring up file selector with the file type restriction *.key :
-
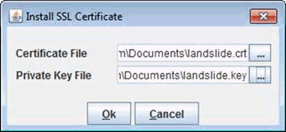
Once both files have been specified, Ok button will be enabled :
-
Upon selection of Ok, the console will display messages to indicate successful install of new certificate or an indication of failure. Restart of the TAS is required for SSL to be applied to all features (RESTAPI / TEX / etc).
-
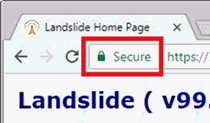
Successful installation of a signed certificate – the browser will show a green lock (Firefox/Chrome) for https://tas_ip_address (or :8181/api or /tex) :
 The TAS Manager function only allows updating the certificate, not retrieval. Once it is installed, you can verify it from the browser or using curl (SSL verbose mode).
Use the TAS Manager Console to Restore Default Server Certificate or use the TAS Manager Web UI - Actions > Restore Default Server Certificate :
-
Restore Default Server Certificate - calls /usr/sms/bin/restore-certificate.sh
-
Selecting “Restore Default Server Certificate” does not require any further user interaction. The console will display the following messages to indicate successful restore default certificate or an indication of failure.
-
Restoring Default Server Certificate (Can take a few seconds)...
-
Restore default server certificate executed successfully
-
Restart TAS & browsers/clients to activate